Note: Episode can be skipped using Episode Skip Tickets. Quest log does not properly show any of these quests' details.
Hunting Bruno in Lighthalzen
Step 1 - Nihil M. Heine
In your personal room in Prontera Castle (prt_cas 153/163), speak to Nihil M. Heine (prt_cas_q 21/39). The real Spica is off investigating something and will appear shortly.
Step 2 - Spica Nerius
Once Spica Nerius appears, talk to her (prt_cas_q 23/36). You find out that Crux found the maid who drugged a Royal family member's muka juice. The maid revealed it was one of the chamberlains who planned it. Crux's investigation found the chamberlain was from the Republic of Schwartzvald. Crux continued to chase the traitor chamberlain, following him to Lighthalzen.
Step 3 - Go to Lighthalzen
Talk to Nihil M. Heine. He is worried and requests you help Crux investigate due to your "freedom" of not being royalty. Skia will also go to Lighthalzen. The pair will meet you in Lighthalzen airport.
Step 4 - Find Crux
Find Crux (lhz_airport 189/39) in the right side of the Lighthalzen airport. Skia guesses the fugitive chamberlain will appear in Lighthalzen versus Einbroch due to pollution. They know his name is Bruno. The group splits up: Crux checks southern Lighthalzen, Skia checks commerce areas, you check north and northeast. Rendezvous near the central department store.

Step 5 - Overhear the Conversation
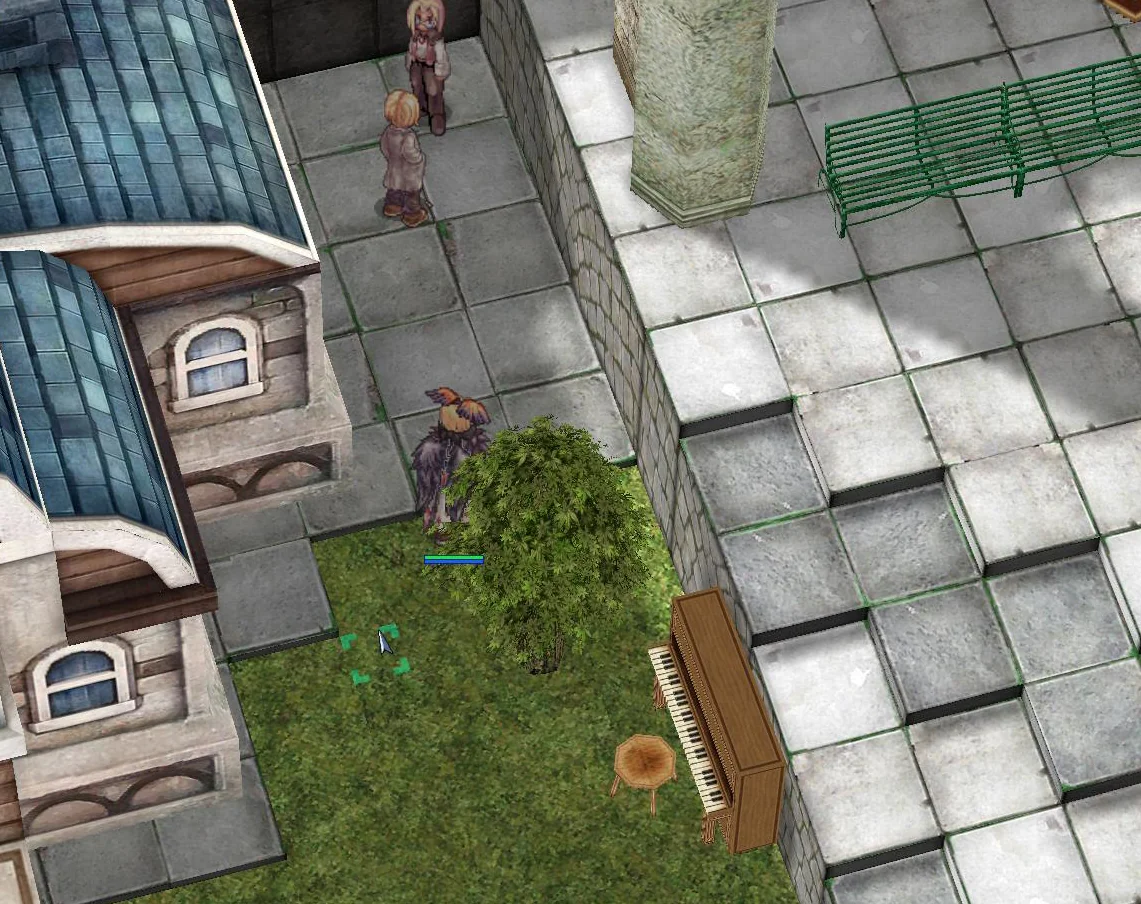
Walk to the northern rear corner of the northern-most house (lighthalzen 184/292). You see a Man and a Scientist. The Man tries to intimidate the Scientist for more money because he can no longer live in Rune Midgard or the Republic. They agree to meet in the slums. After the Man leaves, the Scientist mutters that the Man is to be killed. OPTIONAL: Go to the rendezvous point (lighthalzen 202/167) to tell Skia what you overheard.
Step 6 - Confront Bruno
If you have not done the Friendship Quest, talk to the Guard at (lighthalzen 267/200) repeatedly to get through to the slums. Find and talk to the Man in the slums (lighthalzen 309/263). You call out "Bruno" and he is surprised. A Heart Hunter appears and performs a suicide bombing. Skia tells Bruno to cooperate as the Heart Hunters will chase him forever. Crux takes Bruno back to the palace.
Journey to Einbech
Step 7 - Return to Prontera
Return to Prontera Castle, your private room (prt_cas 153/163). Speak to Nihil M. Heine (prt_cas_q 21/38). Crux has been interrogating Bruno and got an easy confession. There is apparently an "enterprise" behind the problems. Bruno was given to the Schwartz government as part of a deal. Spica needs the Schwartzvald government's permission to investigate a facility. Your job is to escort Spica, which frees up Crux.
Step 8 - Juno Airport
Travel to Juno Airport. Meet and talk to Crux (y_airport 168/41). Spica felt her royalty would draw a crowd in Juno and now wants to meet in the Lighthalzen hotel. He warps you to the Lighthalzen airport.
Step 9 - Lighthalzen Hotel
Enter the hotel (lighthalzen 159/133), go upstairs, then south to the farthest room (lhz_in02 238/149). You find Spica Nerius. She introduces you to the Schwartz government representative.
Step 10 - Meet Philopontess
Speak to Philopontess/Tess (lhz_in02 239/148). Tess says the Secret Wing was not destroyed completely, and the Nerius family will help support them. The goal is to disable the Enterprise. The Rebellion will come to your aid through you, not the royal family.
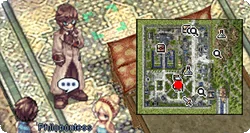
Step 11 - Find Lazy
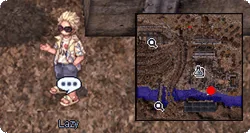
Travel to Einbroch and talk to the Unusual Person (einbroch 239/269) at the train platform. He speaks in secret code you were never told about. He admits he is Lazy, the person you were looking for. He says the meeting was supposed to be in Einbech.
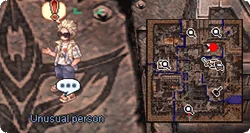
Step 12 - Tunnel to Einbech
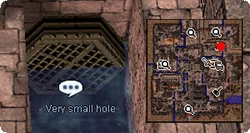
After a long talk, Lazy will auto-generate a /navi east of the train platform for a "free ride." Talk to Lazy (einbroch 270/268). To avoid being tracked, Lazy wants to take you through a tunnel. Click on the Very Small Hole to be transported to Einbech.
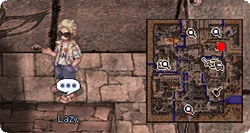
Step 13 - Carry the Rebel
Talk to Lazy (einbech 46/208) on the Einbech train platform. After blabbering about retirement, he marks on your map where to go. Lazy (einbech 76/131) is standing next to a pile of sand covering a Collapsed person. Carry the Rebel and bring him to the entrance.

Step 14 - Reach the Base
After finding Lazy (einbech 217/82), you drop the Rebel on the ground. Lazy says someone already sensed his arrival and tells you to leave the Gonie at the entrance.
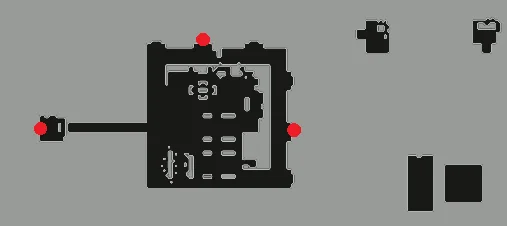
Clana Nemieri Rebellion Base
Step 15 - Enter the Base
Once inside, speak to Lazy (rebel_in 21/45). He aggravates the Shopkeepers enough to want to kick you out. Lazy tells them about Gonie outside. The shopkeeper brings Gonie inside and calls for Lucky. Eventually they let you inside. Access to Imperial Equipment unlocked.

Step 16 - Lazy and Rookie
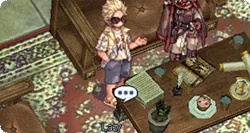
Inside, find and talk to Lazy (rebel_in 86/61) next to the couch. He reveals he is a Secret Wings agent. Lucky reveals his real name is "Rookie." A lot of bickering about tea happens. Lazy tells the elder Rebels what the President wants. They do not want to help as they feel they will be betrayed again. Lazy tries to convince Rookie that he has a voice of power.
Step 17 - Fight Elena
Go up the stairs to the left and talk to Elena Bolkova (rebel_in 70/78). She does not want to let you pass and wants to fight you. If you are an Arch Bishop, she will let you skip the fighting. Cardinal still needs to fight and win. Once defeated, receive 10 Schwartz's Honor Token and 200,000 Base and Job EXP. Fighting Elena repeatable quest unlocked.
Step 18 - Rebellion Leader Rupert
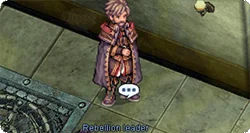
Walk up the walkway and speak to Rebellion Leader (rebel_in 122/71). He tries to escort you downstairs until you mention Gonie. Talk about cooperation and he laughs at the suggestion.
Step 19 - Get Past the Guards
Go south from the Rebellion Leader and talk to Rebellion Guard at the door portal (rebel_in 125/41). They will not let you in despite Rookie having sent you. Keep asking until Larcis hears your voice. Keep shouting. You then get let inside.
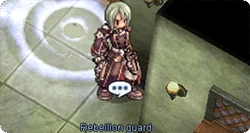
Step 20 - Dien and Ridsh
Walk forward and Dien (rebel_in 164/88) starts talking. The conversation turns to Gonie. You ask about cooperation and Ridsh becomes livid while Dien calmly hears you out. Talk to Dien again; she will choose to help convince the others.
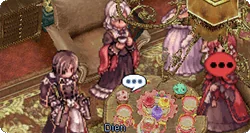
Step 21 - Deliver Letters
Go out, north, and enter the north room portal. Hand Special Force Commander Erst (rebel_in 210/89) a letter Dien wrote. Then go back to Rebellion Leader Rupert (rebel_in 122/71) and deliver Dien's letter. Talk to Rebellion Guard Leader who appeared next to him. Turn around and speak to Rupert again. He makes a ruckus and wants to see Dien, but she appears next to him.
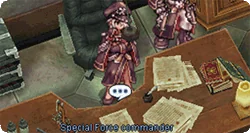
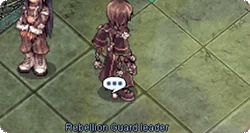
Step 22 - Dien Convinces Rupert
Talk and listen to Dien as she says she will agree to help the Secret Wings. Two against one (Ernst and Dien), and Rupert still resists. Talk to Rupert. He tries to escort Dien back until she grabs him by the beard. Speaking truth about how they will get nowhere holding onto vengeance, Rupert finally agrees to help. BUT ONLY A LITTLE! Receive 10 Schwartz's Honor Token and 200,000 Base and Job EXP. Preparing for the Party repeatable quest unlocked.
Step 23 - Alliance Formed
Return downstairs to talk to Lazy (rebel_in 86/61). Inform them that the Rebellion will help. Listen to Rookie's childhood story. The seniors appear and complain. You tell them that Rupert and the others already agreed. Lazy decides to stay. Receive 10 Schwartz's Honor Token, 1,000,000 Base EXP and 500,000 Job EXP. Daily quests unlocked: Giving Charity to Charity, Tea Time Snacks, Tracking Down Missing Guns for Master, Twinkle Twinkle Shooting Star, Ericsson Adler and the Flower Girl, Pamphlet Promotion. Side Quests now available.
Step 24 - Travel to Einbroch
Rebellion Squadder (rebel_in 65/46) tells you Tess is here. Say Yes to be transported to Einbech train platform. Take the train to Einbroch. Go to the hotel (einbroch 256/199), second floor room north of stairs (ein_in01 274/243). Talk to Nihil in the Einbroch hotel room. He came himself. Skia also managed to leave the banquet. Now begins the plan of attack on the facility.
Heart Hunter War Base 1 Instance
Step 25 - Julian
Travel one map north of Einbroch to the operation spot in the northeast corner. Speak to Julian (ein_fild04 281/337). Talk to Julian to reserve the instance, then talk to Striker Unit Commander to enter.
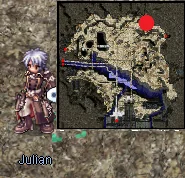
Warning: This instance is not recommended for non-damage dealers (such as Arch Bishops without Adoramus or Judex). Ask for help. Monster taming will interfere; do not use taming items. If you walk into robot walls before they are blown up, you will lose a lot of HP.
Phase 1 - To the 1st Orange Wall
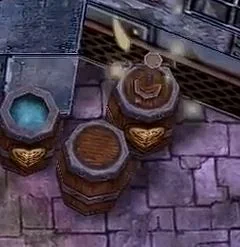
Walk east near Julian to begin the instance. Many Heart Hunter Guards will spawn so run east ASAP. Make your way east until you reach Julian. If you already have Antique Gunpowder on hand, hide extras (or Julian takes them all) and talk to Julian at a distance to skip this part. Head back along the north wall until you find barrels of gunpowder (1@swat 58/59). Click it and pick up Antique Gunpowder. Give Julian the gunpowder to destroy all monsters and create an opening.
Phase 2 - To the 2nd Orange Wall
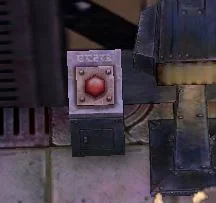
Continue walking east and walk near Julian. He needs time to set up the next explosion. Walk north until you find a Suspicious Instrument (1@swat 147/119). Push the button. More Heart Hunter Guards and Upgraded Heart Hunter Guards will spawn. Defeat them all to proceed. Regular guards count for half a kill, Upgraded count for full. You need 15 kill points. Walk back south to Julian after clearing, then continue east.
Phase 3 - To the 3rd Wall and Boss
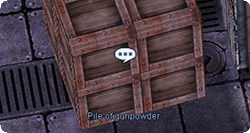
Walk near Julian who says he ran out of gunpowder. Walk back to the previous defense wall to find a Pile of Gunpowder (1@swat 165/56) guarded by Heart Hunters. Give Julian the gunpowder and proceed east. An announcement says they have taken over the communication room. Wait until Heart Hunter Ebel spawns. Defeat her (or hide). Julian injects a shot to paralyze her. She gets arrested. Talk to Julian to receive 10 Schwartz's Honor Token and be warped outside to Einbroch Field 04.
Werner Laboratory Central Room Instance
Step 26 - Enter Werner Lab
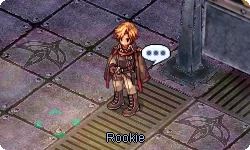
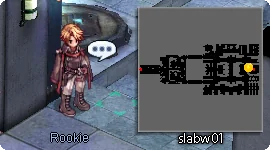
After exiting the instance, speak to Rookie (ein_fild04 284/332). He warps you to Heart Hunter War Base. Inside, enter the portal next to Rookie to enter Werner Laboratory. Speak to Rookie (slabw01 236/91) twice to start the solo instance. Click on teleporter to the right to enter.
Step 27 - Security Devices
Listen to Eisen Werner, then walk all the way up and talk to him again. On both sides, there is a Security Device at the north end of each room. There will be a word in brackets. Choose the appropriate colored version: match the color aura to the button color. Return to the center and enter the portal.
Step 28 - Eisen Werner's Plan
Eisen Werner stands on the opposite end, to the north. He reveals his plan because he expects you to die in this laboratory. Unlock the Security Devices on both ends of the room. Enter the portal Eisen was standing in front of. Speak to Eisen Werner; he explains the Heart of Ymir was unutilized so they took it.
Step 29 - Seyren Windsor
Go through the door portal and speak to Eisen Werner again. The Heart of Ymir's energy goes into the magic circle and into experiment subjects. Seyren Windsor appears and mentions the In Vivo experiment. Eisen explains that putting an imitation Ymir Heart caused the subject to divide like amoebas, forming together to create Seyren. Seyren gives you Blessing Star and Small Leather Bag to return to his original family. Sidequest "Returning the Relics" is now available.
Step 30 - Exit
You are given the option to continue with YSF01 Seyren (extremely strong, recommended for geared Lv175+). Choose Quit instead. To exit: enter the room again and choose Battle to defeat MVP Cutie, or warp out using Butterfly Wing and walk back to the Heart Hunter Base.
Main Quest Conclusion
Step 31 - Return to Hotel
Head back to the Heart Hunter Base. Talk to Rookie (que_swat 150/58) who wants to go back to the hotel. He warps you to Einbroch Field 04. Return to the Einbroch Hotel (einbroch 256/199) and talk to Philopontess (ein_in01 274/243). You return the Blessing Star to Nihil. They want to promptly return to Prontera Castle.
Step 32 - Skia at the Castle
Skia Nerius (prt_cas_q 21/39) is inside your room in the castle. Kronecker enters and they talk about family matters. Receive 10 Honor Token (not Schwartz) and 500,000 Base and Job EXP.
Step 33 - End of Episode 16.2
Spica says Philopontess is waiting at Werner Laboratory. Go to Werner Laboratory and talk to Philopontess (que_swat 145/57). Receive 10 Schwartz's Honor Token and 500,000 Base and Job EXP. Daily quests unlocked: People in the Lab, Heart Hunter War Base 2, Cutie Chimera Killing, YSF01 Seyren Killing. This is the end of Episode 16.2. The story continues in Episode 17.1: Illusion.
Main Quest Total Rewards
50+ Schwartz's Honor Token. 10 Honor Token. Millions of Base and Job EXP across all steps. Access to: Heart Hunter War Base 1 and 2 instances, Werner Laboratory instance, MVP Cutie fight, YSF01 Seyren fight, Imperial Equipment. 10+ daily quests unlocked. Story continues in Episode 17.1: Illusion.
Side Quest: Returning the Relics
Step 1 - Use the Small Leather Bag
Using the Small Leather Bag gives you 6 character-bound items. Each turn-in rewards 100,000 Base EXP and 100,000 Job EXP. Old Rings and Locket Pendant: Knight Windsor in the Prontera pub (prt_in 177/26). Wood Rosary: Sister Margaret at St. Capitolina Abbey (prt_monk 93/254). Portable Sewing Box: Hunter Sherine inside the house right of North Kafra in Payon (payon 187/233). Decorated Archer's Thimble: Blacksmith Cleaver downstairs of Juno weapon shop (yuno_in01 163/31). Assassin's Mark Dagger: Guile Marovitz in the Morroc pub (que_job01 89/91).
Side Quest: Rachel Repair Work
Step 1 - Rachel Smith
Talk to Rachel Smith (rebel_in 88/51) in the Rebellion base. She is frustrated with weapons breaking due to high defect rates. She requests you to bring Rachel's Revolver to the Blacksmith Guild for inspection.
Step 2 - Blacksmith Jack
Travel to Einbroch's Blacksmith Guild (einbroch 255/109) and speak to Blacksmith Jack (ein_in01 38/20) who scrutinizes her work. He concludes impure materials are causing the issue.
Step 3 - Return
Return to Rachel Smith inside the Rebellion base. She suspected it might be the materials. You agree to come back daily with better materials. Receive 7 Schwartz's Honor Token. Rachel Smith daily quest unlocked.
Side Quest: Enable Teleportation in Schwartz!
Step 1 - Arinoa Yurhik
Speak to Arinoa Yurhik next to the fireplace (rebel_in 82/68). Her brother Arivero Yurhik appears, a self-proclaimed "hot" guy. He wants you to go to four places and destroy teleport prohibition equipment. Choose one option and he disappears.
Note: On iRO, this quest may be bugged as Step 1's NPC is missing. Although the quest name says enable teleportation, finishing it does not grant any teleportation features. However, the story is interesting!
Step 2 - Einbech Train
After waiting (up to 24 hours), return to Arinoa Yurhik. Arivero appears saying preparation is complete. He explains how a guard named "H" found an abnormal device. Walk near the freight train (einbech 212/212) and Arivero will appear. He asks for 1 Flame Heart. The equipment is unscathed so bring 3 Mystic Frozen. The equipment is destroyed.
Step 3 - Lighthalzen
Return to the base and speak to Arinoa to make Arivero appear. He says an agent found another prohibition device (Water) in a Lighthalzen mansion. Tell him Rough Wind is strong against water. In Lighthalzen (lighthalzen 135/233), give 1 Mystic Frozen and 3 Rough Wind to destroy the equipment.
Step 4 - Juno
Return to base, talk to Arinoa. Arivero needs 1 Star Crumb to fix the device that prevents prohibition equipment from disappearing. Travel to Juno (yuno 204/226) with 3 Great Nature and give them to Arivero.
Step 5 - Einbroch (Final)
Bring 1 Great Nature and 3 Flame Heart to southeast Einbroch (einbroch 262/42). A panicked Arivero asks you to destroy this last one. He teleports away suspiciously. Inside the base, talk to Arinoa. The Rebellion Leader appears confused as there is no large mission he knows about. He says Arinoa's younger brother died in an accident a while ago. Receive 10 Schwartz's Honor Token, Base EXP and Job EXP, and many unanswered questions.
Side Quest: Helping Elena
Step 1 - Elena Bolkova
Talk to Elena Bolkova (rebel_in 70/77) and choose "I am not busy today, I stopped by." She tells you USU means "Under Seal Unit." Elena tells you about two underage orphans who might be kicked out and requests you solve their problem.

Step 2 - Jana Levedeva
Go downstairs and talk to Jana Levedeva (rebel_in 109/54). Return to Elena upstairs and tell her about the Lebedev twins.
Step 3 - Ask Around
Elena tells you to ask Milo and Mason about them. Milo Rivers (rebel_in 108/27) says they excelled in shooting but Jana threw a grenade into a civilian zone. After being moved to USU, they began to disobey seniors. Mason Bender (rebel_in 19/48) says Ilya shot Mason with a stray bullet.
Step 4 - Cookies
Return to the twins and talk to them. After no luck, return to Elena. She sends you to their previous leader. Downstairs by the fireplace, Ericsson Adler (rebel_in 91/66) gives you a Delicious Handmade Cookie. Walk over to Jana and give them the cookie. Jana breaks down. Ilya tells you the grenade was not on purpose. They became scared after the transfer. You get permission to tell Elena their feelings.
Step 5 - Resolution
Tell Elena that the twins felt they were a burden. Elena apologizes for treating them as adults. Return to Jana and bring them to Elena, saying you will defend the twins. Elena yells at them for running away, then apologizes. She tells them she will not put them in real combat missions. Receive 10 Schwartz's Honor Token, 200,000 Base EXP and 200,000 Job EXP. Helping the Twins daily quest unlocked.
All Daily Quests Unlocked
Fighting Elena, Preparing for the Party, Giving Charity to Charity, Tea Time Snacks, Tracking Down Missing Guns for Master, Twinkle Twinkle Shooting Star, Ericsson Adler and the Flower Girl, Pamphlet Promotion, People in the Lab, Heart Hunter War Base 2, Cutie Chimera Killing, YSF01 Seyren Killing, Rachel Smith Daily, Helping the Twins.